
As a car group, it is possible to have a campaign sent from multiple branches. This can be done from the organisation's umbrella Contact module.
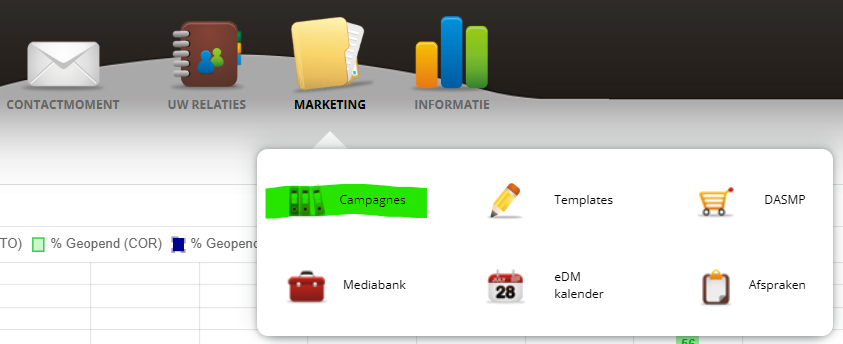
Select 'campaigns' from the marketing menu.
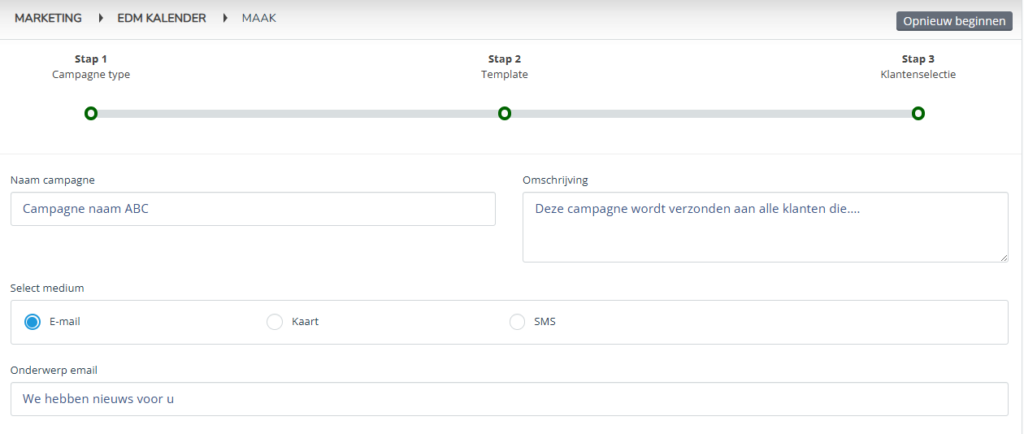
Step 1
Select the 'campaign for my dealers' button
Campaign name
Enter the name of the campaign with a description if required. The name and description can be read by a branch employee in the marketing calendar where the campaign is prepared/sent.
Medium and subject
Select the medium, in this example 'e-mail'. Then enter the subject of the e-mail. With this subject, the e-mail lands in your customers' mailbox.
Tip: If you wish to use a preheader, this can be set in the e-mail template.
Country date and expiry date
A campaign has an ideal sending moment but also a limited shelf life.
Enter the date and time of sending under 'plan date'. Then enter the date and time when the message should no longer be sent because the relevance will no longer apply. After this date, the campaign disappears from the calendar if it has not been sent.

Brand and shipping profile
Select the brand or house style of the message you want to send.
Next, choose a shipping profile. There is a general profile, a sales profile and an after-sales profile available for your companies. You can (have) these set up.
You then have another option to enter a name under which the campaign can be reflected by dealer in the umbrella Contact module.

Campaign activation centrally or per dealer
If you want to place a campaign in your concessions' calendar, select the option 'manually from calendar per dealer'. The mailing should then be activated per dealer for sending.
As a dealer group, you can also send the campaign decentrally but automatically from your umbrella Contact module. To do this, select the 'automatically activate and send per dealer' option.

Selection of companies
Based on the selected language, the dealers who have the language setting in their profile will be displayed. At this location, select the dealers for whom you want to prepare the mailing to be sent or send it directly.
Click on 'next step

Step 2
Select template
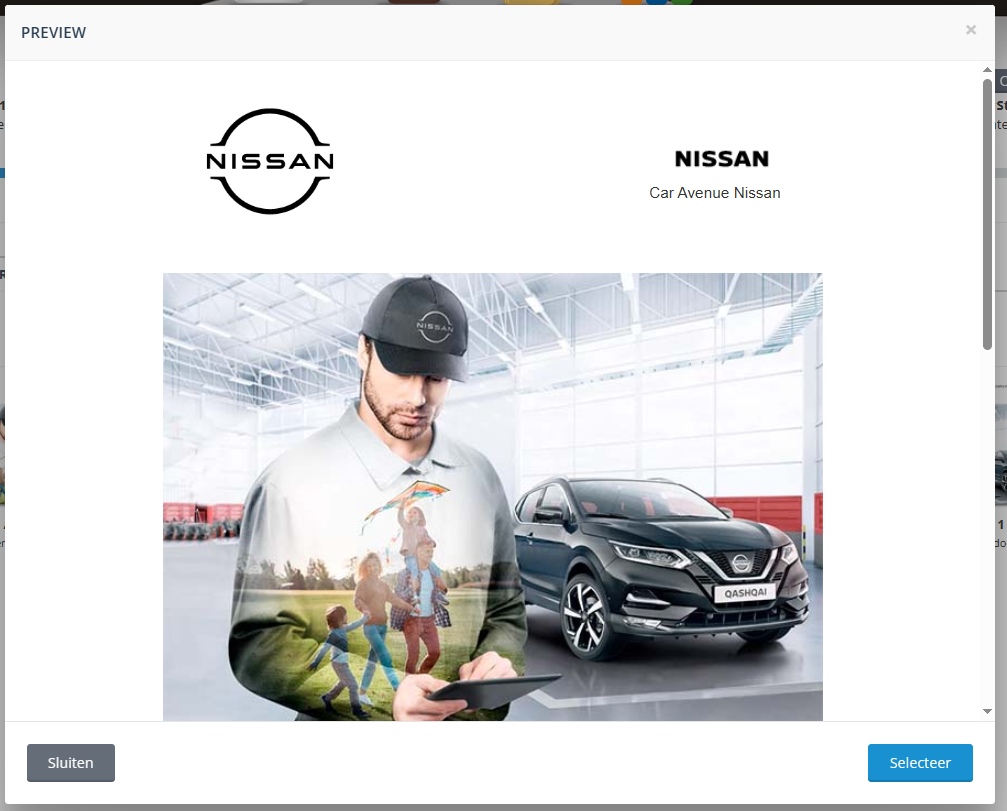
Select the e-mail template you want to send.
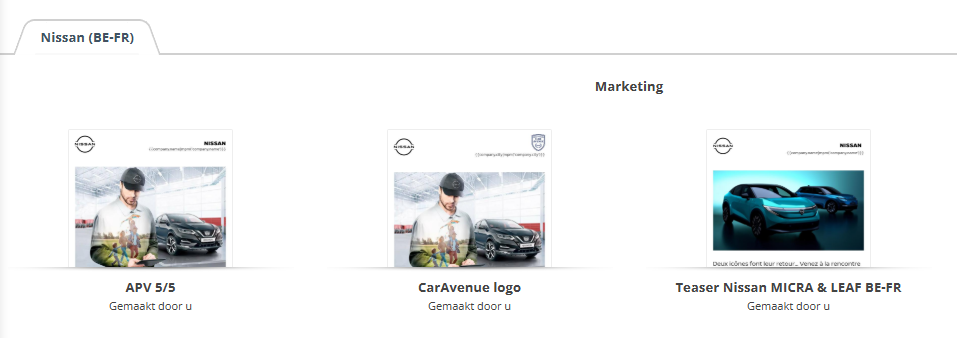
The template will open as a preview. Click 'select' at the bottom of the pop-up if you want to continue.
Step 3
Customer selection
From this menu, you can select customers by clicking on criteria.

This can be done based on the following fields:
- Model
- Age of car
- Period of possession
- Last visit for maintenance
- Last visit
- Last recorded mileage

Options and exclusions selection
It is possible to tick additional options if they are activated for your company. You can also include customers to be excluded in this selection.

Then click 'save' to finalise or send the campaign.
In the campaign calendar and under campaigns, you can find the emailing and see the results.