A number of updates have been made in the Contact module that have to do with creating e-mail templates and displaying the overview of templates. We list the updates:
Adding elements and layout
The drag-and-drop function has been improved. Adding an element or layout works more smoothly than in the previous version. It is also now possible to add an element or layout via the blue line with the +.
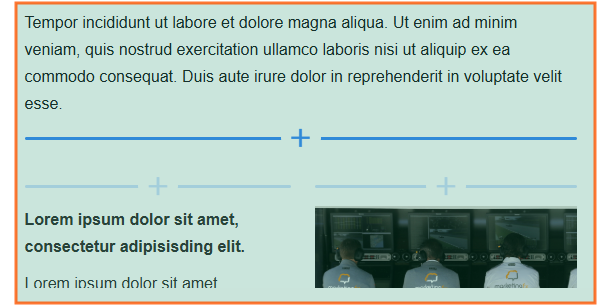
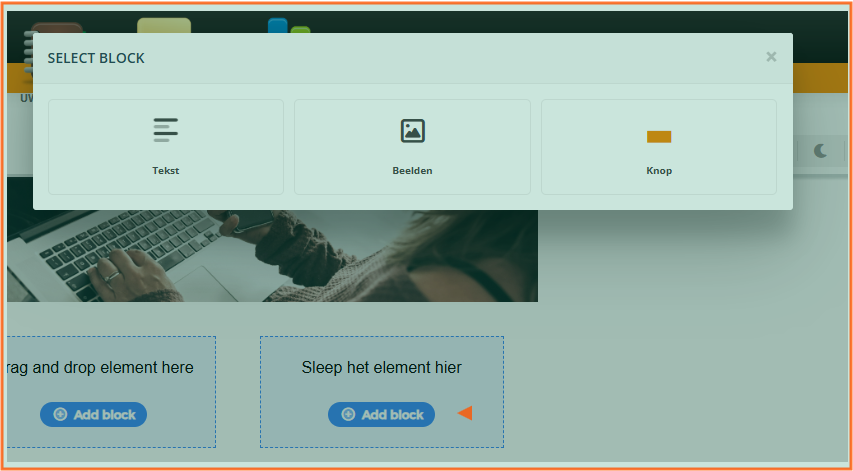
If you drag a new layout into the template, you can add an element via 'add block' (and you don't have to drag it).
New text editor
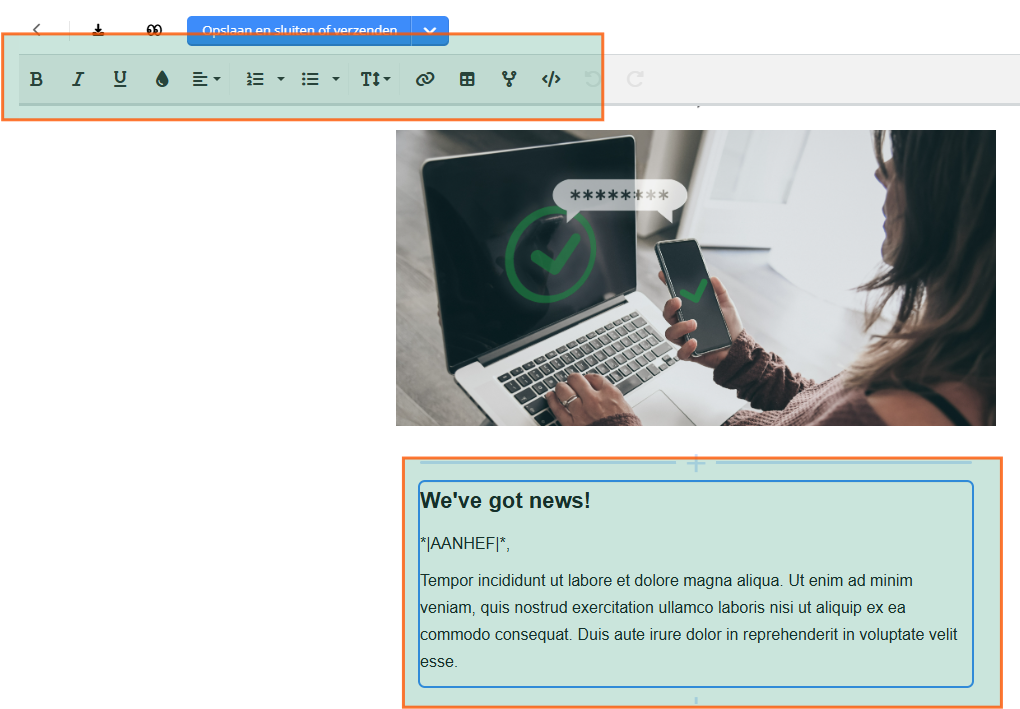
The text editor can now be used from within the element itself. All text editing options appear in the top menu.
Tip: want to use a merge field in the text? If you insert these characters you will immediately see all the merge fields that are available: *|
Email inbox preview view
Click the two-eyed icon to simulate an e-mail inbox from an e-mail template. You can see the email subject, the preheader and all merge fields with filled values.

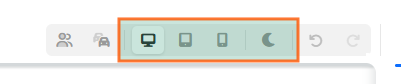
Preview display of the e-mail at different screen sizes and in dark mode display.
View the mail in different views; big screen, tablet screen and smartphone screen. Click on view in dark mode to see how the mail appears in this view.
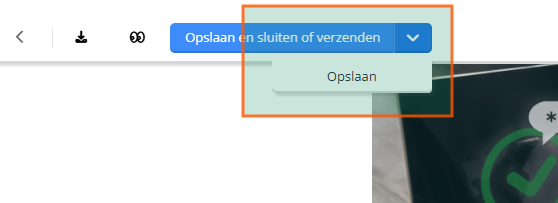
Interim storage of the template
If you want to save an e-mail template in between, without leaving the template builder, click the dropdown menu of the save button and click 'save'. It is also possible to use CTRL + S standing up a template in between.
Model-dependent content in an e-mail
It is possible to display content based on the customer's car model. Click on the model icon in an element.

Then click the models for which customers the element should be shown in the e-mail.
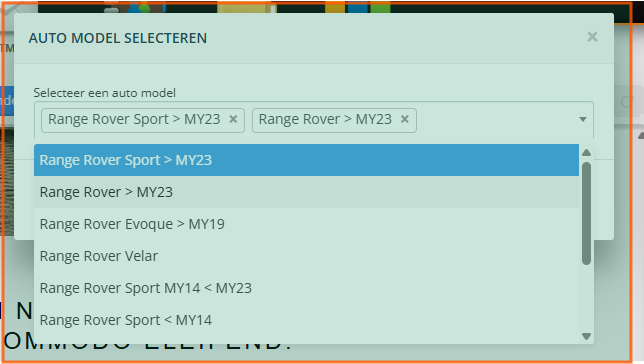
The blue triangle in the element shows that the content is set model-dependent. To simulate this, click on model dependent in the top menu and select the model.

Create template
Create a new template via the 'create' button. Select medium, possibly brand and language. You should now enter the name as you want to call the template. Then click on 'create'.

Template overview
From now on, you can view all templates available to you at a glance. The filters allow you to easily search for a template. You can also use the search field to quickly find a template.

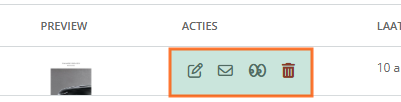
Action buttons are available via the overview:
- edit template
- send test e-mail
- preview the template
- delete the template